
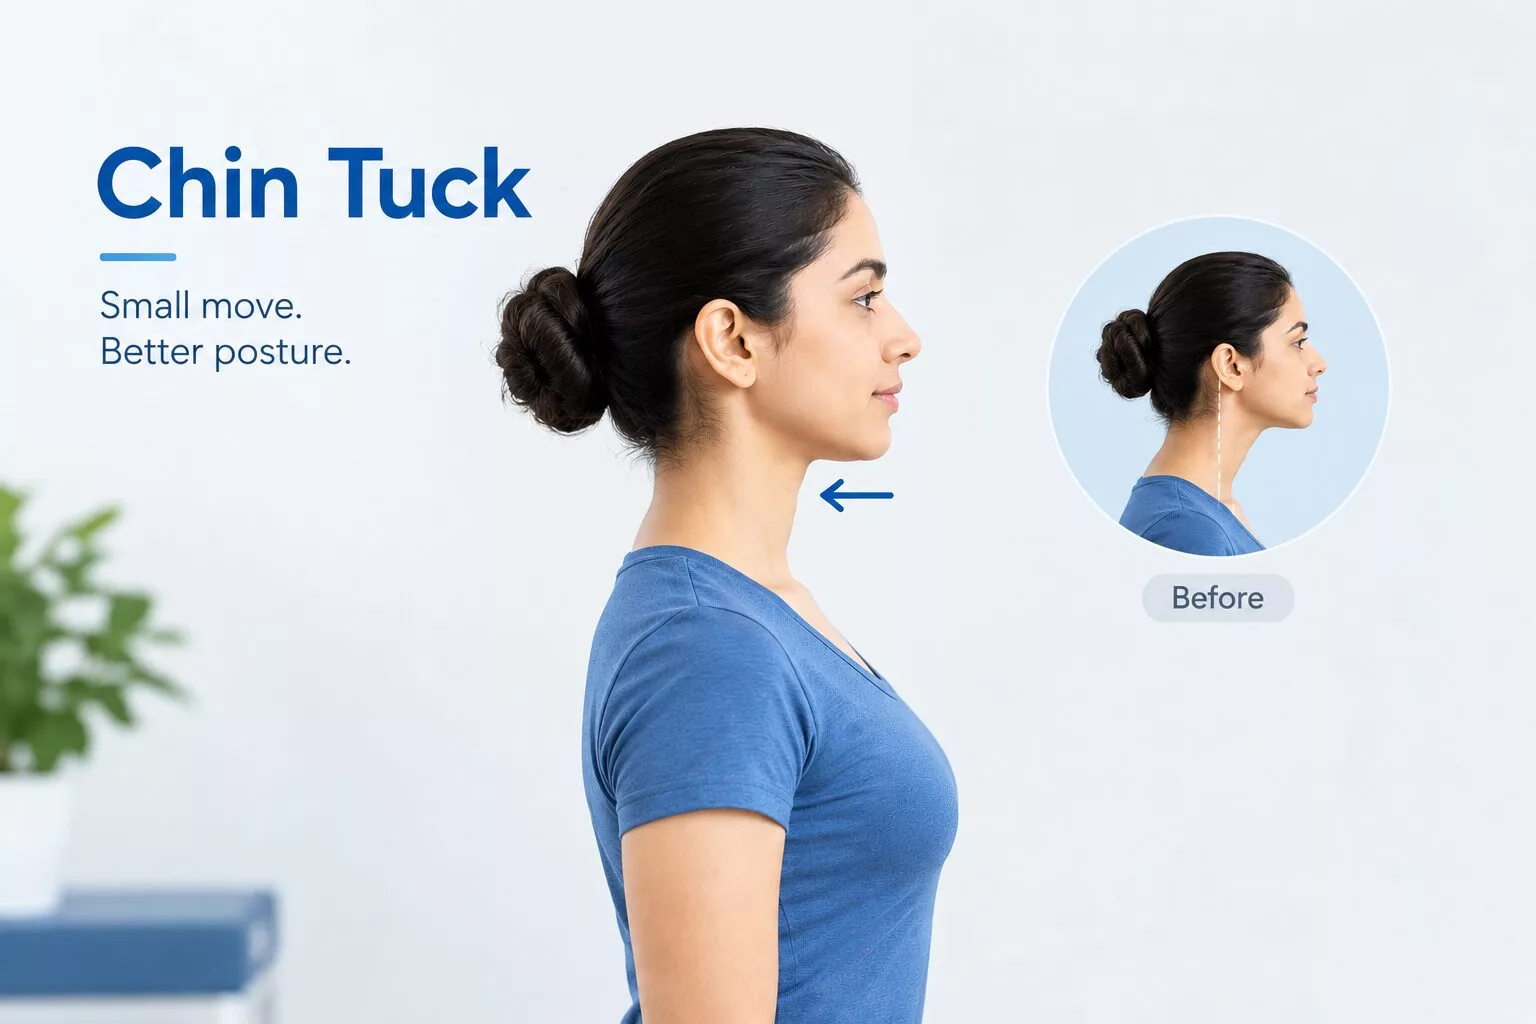
Do you spend hours looking at a phone or a laptop? If so, your head probably sits too far forward. This is very common, and it can cause neck pain, stiff shoulders, and headaches. The good news is that one simple move can help. The chin tuck exercise takes less than a minute, needs no equipment, and you can do it almost anywhere.
In this guide, you will learn how to do the chin tuck the right way, the main chin tuck benefits, common mistakes to avoid, and an easy plan you can follow. Let’s get started.
A chin tuck is a gentle move where you slide your head straight back, so your ears line up over your shoulders. Do not bend your head down. Physical therapists often suggest chin tuck exercises to fix forward head posture, because the chin tuck exercise strengthens the deep neck muscles at the front of your neck and stretches the tight muscles at the back.
Your head weighs about 10 to 12 pounds. When it sits right over your spine, your neck carries that weight with ease. When it drifts forward, the strain on your neck grows fast. Looking down at a phone can add many extra pounds of pressure on your neck.
That extra load can lead to:
Poor posture also builds slowly. You may not notice it for months, and then one day your neck simply hurts. A daily habit that trains your body to hold a healthier position is a smart way to stay ahead of the problem. It is not a magic fix, but it is a strong first step. Think of it as brushing your teeth for your neck: small, easy, and best done every day.
Here are the most useful benefits you can expect with regular practice. Each one of these chin tuck exercise benefits builds on the others.
The biggest gain is better alignment. When the deep neck muscles get stronger, your head stays over your shoulders with less effort. You will notice that you slouch less during the day.
Tight muscles at the back of the neck cause a lot of daily aches. A slow, gentle tuck stretches these muscles and eases the pull. Many people feel looser after just Tight muscles at the back of the neck cause a lot of daily aches. A slow, gentle tuck stretches these muscles and eases the pull. Many people feel looser after just a few days.
Tight neck muscles can trigger headaches at the base of the skull. Gentle stretching may reduce this tension. If your headaches are severe or new, please see a doctor first.
When your neck feels relaxed, it is easier to sit and work for longer. Short exercise breaks also remind you to check your posture and take a deep breath.
Learning the move is simple. Follow these steps and go at your own pace.
This version is easier because the floor supports your head.
For extra feedback, wrap a small towel around the back of your neck. Hold both ends in front of you. As you tuck your chin, gently pull the towel forward. This light resistance helps you learn the correct movement and keeps your head from tilting.
Lorem ipsum dolor sit amet, consectetur adipiscing elit. Ut elit tellus, luctus nec ullamcorper mattis, pulvinar dapibus leo.
You do not need long sessions. Short and regular practice works best. Here is an easy plan.
Level | Reps | Hold Time | How Often |
Beginner | 5 to 8 | 3 seconds | 2 times a day |
Intermediate | 10 | 5 seconds | 3 times a day |
Advanced | 10 to 15 | 10 seconds | 3 times a day |
Start at the beginner level for the first week. Then move up slowly as your neck feels stronger. Try to link this routine to a daily habit, such as after brushing your teeth, before you start your laptop, or during a work break.
Many people search for chin tuck before and after results. Here is a realistic timeline.
Results are different for everyone. Age, work habits, and sleep all play a role. A side photo can be a fun way to track progress. Take one now and another after a few weeks, using the same spot and the same light.
Even a simple move can go wrong. Watch out for these errors.
The move is a backward slide, not a nod. If your head tips down, you lose the benefit.
Go slowly. You should feel a gentle stretch, never sharp pain.
Breathe in a calm, steady way while you hold the position. Holding your breath adds tension.
Keep your shoulders low and loose. If they rise, your neck muscles are working too hard.
More is not always better. Stick to the plan and let your body adapt.
This chin tuck routine is safe for most people. However, stop and talk to a doctor if you feel sharp pain, numbness, tingling in your arms, dizziness, or if you have had a recent neck injury. This article is for general information and is not medical advice.
Lorem ipsum dolor sit amet, consectetur adipiscing elit. Ut elit tellus, luctus nec ullamcorper mattis, pulvinar dapibus leo.
